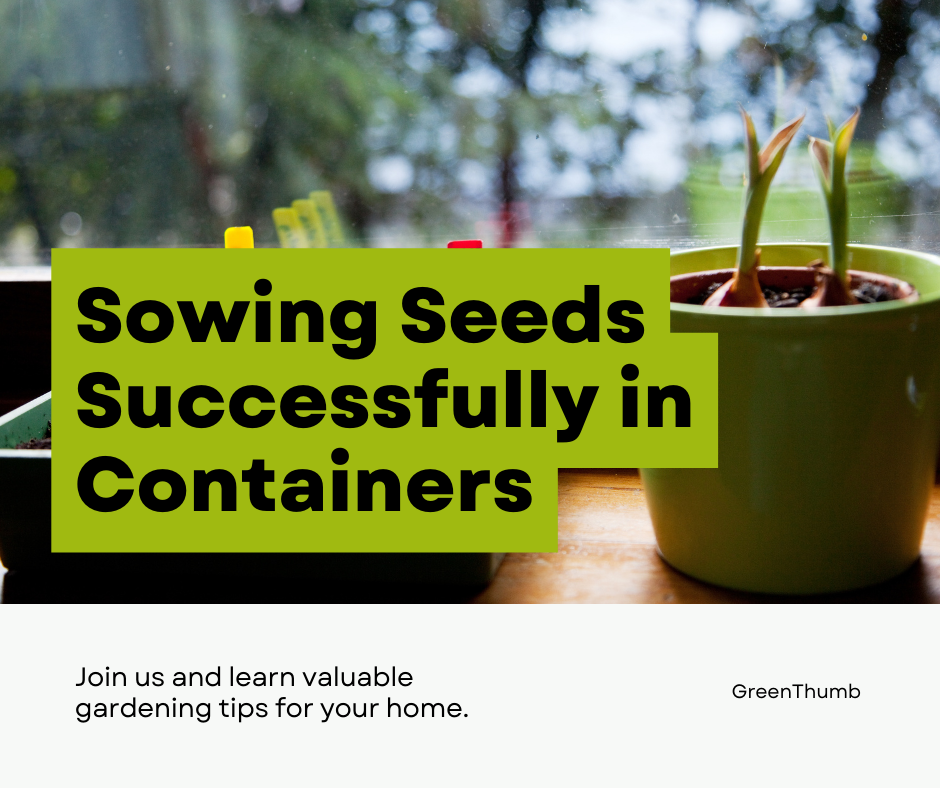
Welcome to our comprehensive guide on successfully sowing seeds in containers! If you’re looking to unlock your green thumb this planting season and enjoy the benefits of starting seeds indoors, you’ve come to the right place. Whether you’re a beginner or an experienced gardener, this article will provide you with expert tips and valuable insights to ensure your seedlings thrive.
Starting seeds in containers offers numerous advantages, allowing for greater control over growing conditions and protection from pests. By choosing the right containers, selecting the appropriate size, and creating the ideal conditions, you can set your seeds up for success. Additionally, using proper soil mix and following the correct steps for sowing seeds will increase your chances of achieving healthy seed germination.
Key Takeaways:
- Starting seeds in containers allows for greater control over growing conditions and protects seedlings from pests
- Choose the right containers and appropriate sizes for optimal seedling development
- Create the ideal conditions by providing the correct temperature and lighting
- Use a proper soil mix to provide necessary nutrients and moisture
- Follow the step-by-step process to successfully sow seeds in containers
Benefits of Starting Seeds in Containers
When it comes to gardening, starting seeds in containers provides numerous benefits that can set you up for success. Whether you’re an experienced gardener or just starting out, utilizing containers for seed starting offers advantages that will boost your gardening endeavors.
Greater Control over Growing Conditions
When you sow seeds in containers, you have the ability to manage and control the growing conditions more effectively. This means you can tailor the environment to suit the specific needs of your plants and ensure optimal growth. You have control over factors such as soil composition, moisture levels, and nutrient availability, allowing you to create the ideal conditions for successful seed germination and seedling development.
Protection from Pests
One of the biggest challenges in gardening is dealing with pests that can damage or destroy your plants. Starting seeds in containers provides a protective barrier, keeping your delicate seedlings out of reach from insects, rodents, and other garden pests. This advantage can significantly reduce the risk of plant loss and give your garden a head start in combating pest-related issues.
“Starting seeds in containers allows for better control of growing conditions and protects your plants from pests, giving you a greater chance of successful gardening.” – Jane Smith, Master Gardener
Flexibility and Mobility
Containers offer the flexibility to move your seedlings as needed. Whether you want to take advantage of the best sunlight, shield your plants from harsh weather conditions, or simply rearrange your garden layout, containers make it easy to adapt and reposition your seedlings accordingly. This mobility ensures that your plants have the best chance to thrive throughout the growing season.
Extended Growing Season
Starting seeds indoors in containers extends the growing season and allows you to get a head start on your gardening efforts. By starting seeds indoors, you can provide the optimal conditions for germination even before the outdoor weather is suitable. This advantage enables you to enjoy earlier harvests and prolong your gardening season.
With all these advantages, it’s no wonder that starting seeds in containers has become a popular choice among gardeners. The ability to control growing conditions, protect plants from pests, and enjoy greater flexibility and an extended growing season are just a few of the benefits that make container seed starting a rewarding and effective method.
Choosing the Right Containers for Seed Starting
Selecting the appropriate containers for seed starting is crucial for the success of your plants. The right container will provide the necessary environment for your seeds to germinate and grow into healthy seedlings. In this section, we will discuss different types of containers and provide tips on choosing the right ones for your seeds.
1. Seed Starting Trays:
Seed starting trays are a popular choice for beginners and experienced gardeners alike. These trays typically come with individual cells or compartments that allow you to start multiple seeds in one container. The cells are usually shallow, providing ample surface area for seedlings to develop a strong root system.
2. Biodegradable Pots:
If you prefer an eco-friendly option, biodegradable pots are a great choice. These pots are made from materials like peat, coconut coir, or compressed plant fibers. Biodegradable pots can be transferred directly into the ground along with the seedlings, reducing transplant shock and minimizing disturbance to the roots.
3. Recycled Containers:
Repurposing household items as seed starting containers is a budget-friendly and sustainable option. You can use yogurt cups, egg cartons, or even plastic bottles with drainage holes. Just make sure to clean and sterilize the containers before use to prevent the spread of diseases or pests.
4. Self-Watering Containers:
Self-watering containers have built-in reservoirs that supply water to the plants as needed. These containers provide a consistent level of moisture, reducing the risk of overwatering or underwatering your seeds. They are especially useful if you have a busy schedule or tend to forget about watering your plants.
5. Planter Bags:
Planter bags are flexible containers made from sturdy fabric or felt material. They offer excellent drainage and allow the roots to breathe, promoting healthy root development. Planter bags are ideal for larger plant varieties or if you have limited space as they can be easily moved around.
When choosing the right containers for seed starting, consider the specific needs of your seeds and the growing conditions in your area. It’s also important to ensure that the containers have adequate drainage holes to prevent waterlogged soil, which can lead to root rot.
Remember, the container you choose will play a significant role in the success of your seedlings. Now that you have a better understanding of the different types of containers available, you can make an informed decision to give your seeds the best start.
| Container Type | Benefits |
|---|---|
| Seed Starting Trays | – Individual cells promote strong root development – Allows for starting multiple seeds in one container |
| Biodegradable Pots | – Eco-friendly option – Reduces transplant shock |
| Recycled Containers | – Budget-friendly and sustainable – Can repurpose household items |
| Self-Watering Containers | – Provides consistent moisture levels – Reduces risk of overwatering/underwatering |
| Planter Bags | – Excellent drainage and root breathability – Ideal for larger plant varieties or limited space |
Now that you have a better understanding of the different types of containers available, you can make an informed decision to give your seeds the best start. In the next section, we will guide you on selecting the appropriate container size to ensure optimal seedling development.
Selecting the Appropriate Container Size
The size of the container is a crucial factor in determining the growth and development of your seedlings. Choosing the right container size can significantly impact the health and productivity of your plants. In this section, we will guide you on how to select the appropriate container size for optimal seedling growth.
When selecting the container size, it’s essential to consider the type of plant you’re growing. Different plants have varying root structures and space requirements. Here are a few factors to keep in mind:
- Plant size: Larger plants require larger containers to accommodate their root system and allow for proper nutrient uptake.
- Growth stage: If you’re starting seeds or growing small seedlings, smaller containers can be suitable initially. However, as the plants grow, moving them to larger containers will provide the necessary space for root development.
- Plant density: Consider the number of plants you plan to grow in each container. If you’re growing multiple plants together, ensure the container size is appropriate to prevent overcrowding and competition for resources.
Here’s a helpful reference guide for selecting container sizes for common plants:
| Plant | Container Size |
|---|---|
| Herbs (e.g., basil, parsley) | 6 inches (15 cm) or larger |
| Lettuce | 8 inches (20 cm) or larger |
| Tomatoes | 14 inches (35 cm) or larger |
| Peppers | 12 inches (30 cm) or larger |
| Cucumbers | 16 inches (40 cm) or larger |
Remember, it’s better to choose a slightly larger container rather than a smaller one. The additional room will allow for better root development, nutrient absorption, and overall plant health. Avoid overcrowding your plants, as it can lead to stunted growth and decreased productivity.
Now that you understand the importance of selecting the appropriate container size, you can ensure optimal growth for your seedlings. In the next section, we will explore the ideal conditions for sowing seeds in containers, including temperature and lighting requirements.
Ideal Conditions for Sowing Seeds in Containers
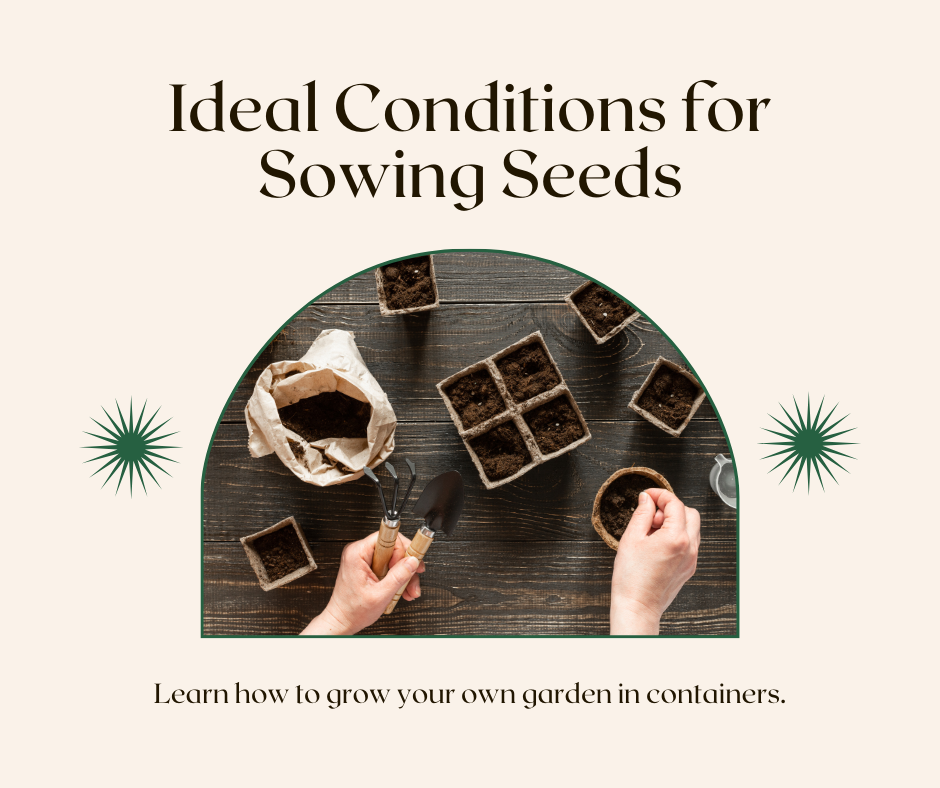
Creating the ideal conditions for sowing seeds in containers is crucial for ensuring successful germination and healthy seedling growth. By understanding the optimal temperature and lighting requirements, you can provide the best environment for your seeds to thrive.
Optimal Temperature for Seed Germination
The temperature plays a significant role in seed germination. Most seeds require a specific temperature range to break their dormancy and start the germination process. Generally, the optimal temperature for seed germination falls within the range of 65°F to 75°F (18°C to 24°C).
Pro Tip: It’s essential to maintain a consistent temperature throughout the germination period. Fluctuations in temperature can impede germination or lead to weak seedlings.
To ensure ideal temperature conditions for your seeds, consider using a seedling heat mat. This handy device provides gentle and consistent bottom heat to promote germination, especially for heat-loving plants like peppers and tomatoes.
Lighting Requirements for Seedlings
Proper lighting is equally critical for the successful growth of seedlings. While natural sunlight is beneficial, it may not always be sufficient, especially during the early stages of germination. Supplemental lighting is often necessary to provide the right amount of light for healthy plant development.
When choosing lighting for your seedlings, opt for full spectrum fluorescent or LED grow lights. These lights mimic the natural spectrum of sunlight and provide the ideal light wavelengths that promote optimal seedling growth.
Place the grow lights approximately 6 to 12 inches (15 to 30 cm) above the seedlings to ensure they receive adequate light without burning the delicate foliage. Keep the lights on for 12 to 16 hours each day, simulating a full day of sunlight.
Creating the ideal conditions for sowing seeds in containers involves maintaining a consistent temperature and providing adequate lighting for your seedlings’ growth. By understanding these requirements and implementing the necessary measures, you can maximize the success of your seed starting endeavors.
Proper Soil Mix for Seed Starting
When it comes to seed starting, the soil mix you use is of utmost importance. A proper soil mix provides the necessary nutrients and moisture for your seeds to germinate and develop into healthy seedlings. In this section, we will guide you on how to create the perfect soil mix for successful seed starting.
Creating a balanced soil mix involves combining different components that cater to the specific needs of your seeds. Here is a recommended recipe for the ideal soil mix:
| Component | Quantity |
|---|---|
| Seed starting mix | 80% |
| Compost | 10% |
| Perlite | 10% |
The seed starting mix forms the majority of the soil mix, providing the necessary structure and moisture retention. Compost adds essential nutrients, while perlite improves drainage and aeration.
Remember to use a high-quality seed starting mix that is specifically formulated for germinating seeds. Avoid using garden soil, as it can be too heavy and may contain weed seeds or pathogens that can harm your seedlings.
Once you have gathered the components, mix them thoroughly in a large container or wheelbarrow. Ensure that the soil mix is evenly blended before filling your seed trays or pots. Moisten the soil mix slightly before sowing your seeds.
Now that you have a proper soil mix, your seeds are ready for planting. In the next section, we will walk you through the essential steps to successfully sow seeds in containers.
Steps to Successfully Sow Seeds in Containers
When it comes to sowing seeds in containers, following the right steps is crucial for the success of your plants. By properly preparing the containers and sowing seeds at the correct depth, you can ensure optimal seed starting and foster healthy growth. Here are the essential steps to successfully sow seeds in containers:
- Choose the Right ContainersStart by selecting containers that are suitable for seed starting. Consider using biodegradable pots, plastic trays, or recycled containers. Ensure that the containers have good drainage holes to prevent waterlogging.
- Prepare the ContainersBefore sowing the seeds, prepare the containers by filling them with a high-quality seed starting mix. This mix should be well-draining and rich in nutrients. Gently moisten the soil to make it moist but not waterlogged.
- Sow the Seeds at the Correct DepthRefer to the seed packet or plant-specific guidelines to determine the correct depth for sowing the seeds. Generally, small seeds require shallow depths, while larger seeds need to be planted deeper. Use your finger or a pencil to create small holes for the seeds and cover them with a thin layer of soil.
- Water the ContainersAfter sowing the seeds, water the containers gently to avoid disturbing the seeds. Use a misting spray bottle or a watering can with a fine nozzle to dampen the soil evenly. Ensure that the soil remains consistently moist but not waterlogged throughout the germination period.
- Provide Proper Lighting and TemperaturePlace the containers in a location that receives the right amount of light and maintains optimal temperatures for seed germination. Most seeds require a temperature range of 65-75°F (18-24°C) for successful growth. If natural light is limited, consider using artificial grow lights to provide adequate light intensity.
- Care for the SeedlingsAs the seedlings emerge, continue to provide them with the right conditions for healthy growth. Regularly monitor the soil moisture and adjust the watering as needed. Thin out the seedlings if they become overcrowded to ensure proper air circulation and prevent diseases.
Following these steps will set you up for success in sowing seeds in containers. Remember to stay patient and attentive to the needs of your plants. With time and care, your seedlings will thrive and flourish, bringing you a bountiful and beautiful harvest.
Tips for Successful Seed Germination in Containers
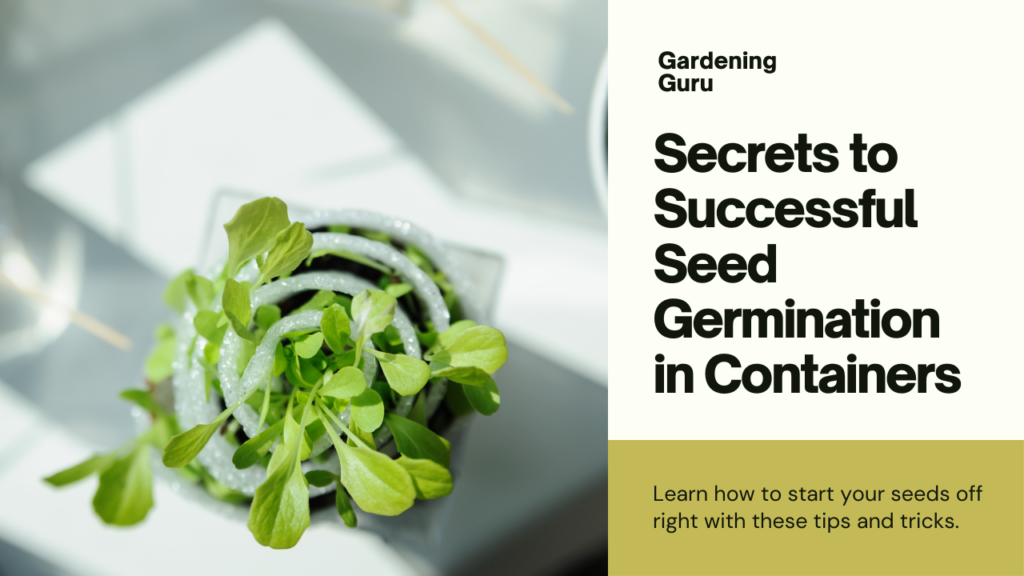
Promoting healthy seed germination in containers is crucial for the success of your plants. By following these expert tips, you can ensure optimal conditions and avoid common mistakes that may hinder germination.
1. Watering and Humidity Tips for Seed Germination
Proper watering is essential for seed germination. Keep the soil consistently moist, but not waterlogged, as excess water can lead to rot or fungal diseases. To maintain the right level of moisture, check the soil regularly by inserting your finger about an inch deep. If it feels dry, it’s time to water.
Tip: Use a spray bottle or a watering can with a fine nozzle to avoid disturbing the seeds or compacting the soil. Mist the surface gently to prevent dislodging the seeds and provide even distribution of water.
Humidity plays a vital role in seed germination as well. To create a humid environment, cover your containers with plastic wrap or use a mini greenhouse with a transparent lid. This helps retain moisture and promotes faster germination.
2. Avoiding Common Mistakes in Seed Starting
Successful seed germination also involves avoiding common mistakes that beginners often make. Here are a few pitfalls to watch out for:
“Overcrowding the containers: “ While it may be tempting to sow seeds close together to maximize space, overcrowding can lead to competition for nutrients, light, and water, resulting in weak seedlings. Follow the recommended spacing guidelines for each type of plant.
“Planting seeds too deep or too shallow: “ Different seeds have specific depth requirements for optimal germination. Planting too deep may prevent them from reaching the surface, while planting too shallow can expose them to drying out or being displaced by watering. Refer to the seed packet or our sowing seeds in containers section for proper seeding depth information.
“Inconsistent temperatures: “ Fluctuating temperatures can delay or disrupt seed germination. Ensure a consistent temperature range suitable for the specific seeds you are planting. Avoid placing containers near drafty windows, heating or cooling vents, or other temperature extremes.
3. Patience and Observation
Germination time can vary depending on the type of plant and growing conditions. Be patient and give your seeds enough time to sprout. If you notice any issues, such as mold, fungal growth, or signs of pest infestation, take prompt action to address the problem.
Tip: Keep a gardening journal to record the progress of your seeds. Note the date of sowing, observations, and any adjustments made to watering or humidity to fine-tune your seed starting process in the future.
Summary
Successful seed germination in containers requires attention to watering, humidity, and avoiding common mistakes. By implementing these tips, you can create the ideal conditions for your seeds to sprout and develop into healthy seedlings.
FAQ
Q. What are the benefits of starting seeds in containers?
A. Starting seeds in containers offers several benefits. It allows for greater control over growing conditions, such as temperature and lighting, leading to higher success rates. Containers also provide protection from pests and allow for easy mobility. Additionally, starting seeds indoors extends the growing season and allows for earlier plant establishment.
Q. What are the advantages of using containers for seed starting?
A. Using containers for seed starting provides flexibility in terms of space and location. Containers can be placed in optimal locations for sunlight and easily moved indoors or outdoors as needed. They also prevent soil compaction and allow for better drainage, reducing the risk of overwatering. Containers also help protect seeds from outdoor elements and provide a controlled environment conducive to seed germination.
Q. How do I choose the right containers for seed starting?
A. When choosing containers for seed starting, consider factors such as size, material, and drainage. Opt for containers that are deep enough to accommodate the root system of your specific plant. Plastic, biodegradable pots, or even recycled containers can be suitable choices. Ensure the containers have drainage holes to prevent waterlogging and promote healthy root growth.
Q. How do I select the appropriate container size for seed starting?
A. The appropriate container size depends on the type of seeds you are sowing. Larger seeds with extensive root systems may require deeper containers, while smaller seeds may thrive in shallower ones. Consider the plant’s mature size when selecting container size, and ensure there is enough space for root development without overcrowding.
Q. What are the ideal conditions for sowing seeds in containers?
A. Ideal conditions for sowing seeds in containers include providing adequate light, maintaining appropriate temperature, and ensuring proper moisture levels. Most seeds germinate best in a temperature range of 65-75°F (18-24°C). Provide sufficient light, either by placing the containers near a sunny window or using grow lights. Maintain consistent moisture by regularly checking and watering the containers, but avoid overwatering.
Q. What is the proper soil mix for seed starting?
A. A proper soil mix for seed starting should be well-draining, lightweight, and nutrient-rich. A common mix consists of equal parts of sterile seed-starting mix, vermiculite, and perlite. This combination provides good drainage and aeration while retaining necessary moisture. Adding compost or organic matter can further enrich the soil mix.
Q. What are the steps to successfully sow seeds in containers?
A. To successfully sow seeds in containers, start by preparing the containers by filling them with the appropriate soil mix. Moisten the soil before sowing the seeds at the recommended depth. Lightly cover the seeds with soil, gently press down to ensure good seed-to-soil contact, and label the containers. Place the containers in a warm location with adequate light, and regularly monitor the moisture levels, ensuring the soil remains evenly moist.
Q. What are some tips for successful seed germination in containers?
A. To promote successful seed germination in containers, ensure the containers receive sufficient light and maintain proper humidity levels by covering them with a plastic dome or plastic wrap. Avoid common mistakes such as overwatering or underwatering, and regularly check for signs of germination. Once the seedlings have emerged, gradually acclimate them to outdoor conditions before transplanting them into the garden or larger pots.
Q. When should I transplant seedlings from containers?
A. Seedlings should be transplanted from containers once they have developed strong roots and several sets of true leaves. This typically occurs when the seedlings are 2-3 inches tall. Transplanting too early can result in poor root establishment, while waiting too long can lead to root-bound plants.
Q. How do I transplant seedlings into the garden or larger pots?
A. When transplanting seedlings into the garden or larger pots, first ensure the soil is adequately prepared. Dig a hole slightly larger than the root ball of the seedling and gently remove the seedling from its container, being careful not to damage the roots. Place the seedling in the hole, backfill with soil, and lightly press down. Water the newly transplanted seedling to help settle the soil and promote root growth.
Conclusion
Sowing seeds in containers is an incredibly rewarding and effective method for starting your garden. With the right techniques and strategies, you can increase your chances of growing strong and healthy seedlings that will thrive in your outdoor space. By incorporating the steps and tips outlined in this article, you will be well on your way to experiencing the benefits of starting seeds indoors.
One of the main advantages of container seed starting is the control it provides over growing conditions. By selecting the appropriate containers and creating ideal conditions such as temperature and lighting, you can create the perfect environment for germination and early plant development. This control also extends to protection from pests, allowing your seedlings to grow undisturbed.
Choosing the right container size and using a proper soil mix are essential aspects of successful seed starting. These factors determine how well your seedlings establish their root systems and access the necessary nutrients and moisture for healthy growth. By following our guidelines for container selection and soil mix preparation, you can ensure your seedlings have the best start possible.
By embracing the practice of sowing seeds in containers, you are embracing the opportunity to have a beautiful and bountiful garden. With your newly acquired knowledge and skills, you can confidently nurture your seedlings into strong and vibrant plants, ready to be transplanted outdoors when the time is right. So get ready to enjoy the benefits of starting seeds indoors and watch your garden flourish!


