

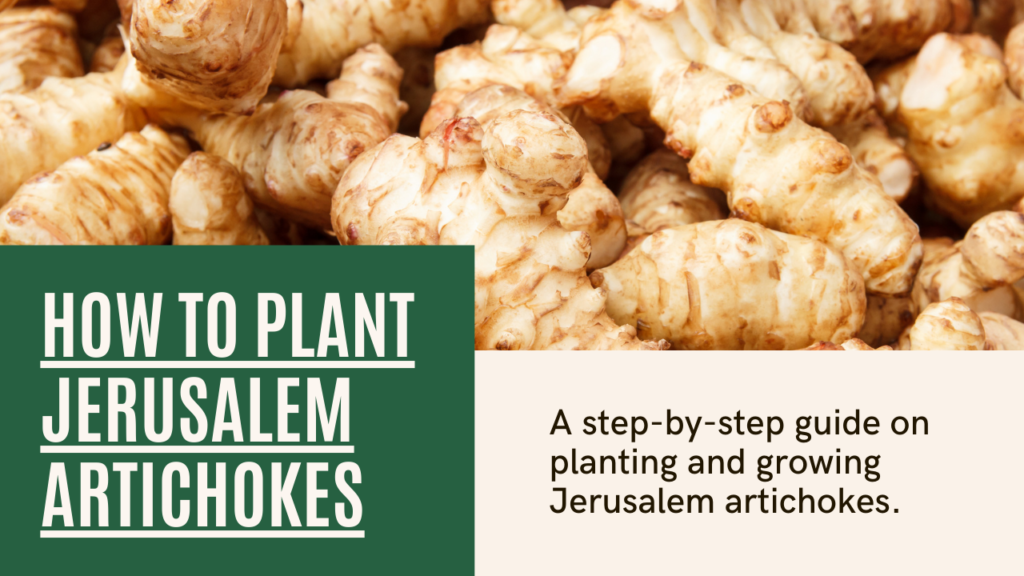
Welcome to our comprehensive planting guide for Jerusalem Artichokes. Whether you’re a seasoned gardener or just starting out, this article will provide you with all the information and step-by-step instructions you need to successfully grow these delicious tubers in your own garden.
Key Takeaways
- Jerusalem Artichokes are a versatile and nutritious addition to any garden.
- Choosing the right location is crucial for the success of your Jerusalem Artichoke plants. Consider sunlight, soil quality, and drainage.
- Properly preparing the soil and planting the tubers is essential for optimal growth.
- Regular watering and fertilization are key to nurturing your Jerusalem Artichokes throughout their growth cycle.
- Learn how to identify and manage common pests and diseases that can affect your plants.
Introduction to Jerusalem Artichokes
Jerusalem Artichokes, also known as Helianthus tuberosus, are fascinating plants that have been cultivated for centuries. Despite their name, they are not actually artichokes and have no relation to Jerusalem. These tubers belong to the sunflower family and have a sweet, nutty flavor that makes them a versatile ingredient in various culinary preparations.
Native to North America, Jerusalem Artichokes were extensively cultivated by Native American tribes, including the Iroquois and Sioux. European explorers were introduced to these unique tubers during their visits to North America and eventually brought them back to their homelands.
Over time, Jerusalem Artichokes have become known for their exceptional adaptability and resilience. They can grow in a wide range of soil types and climates, making them an excellent choice for gardeners all around the world.
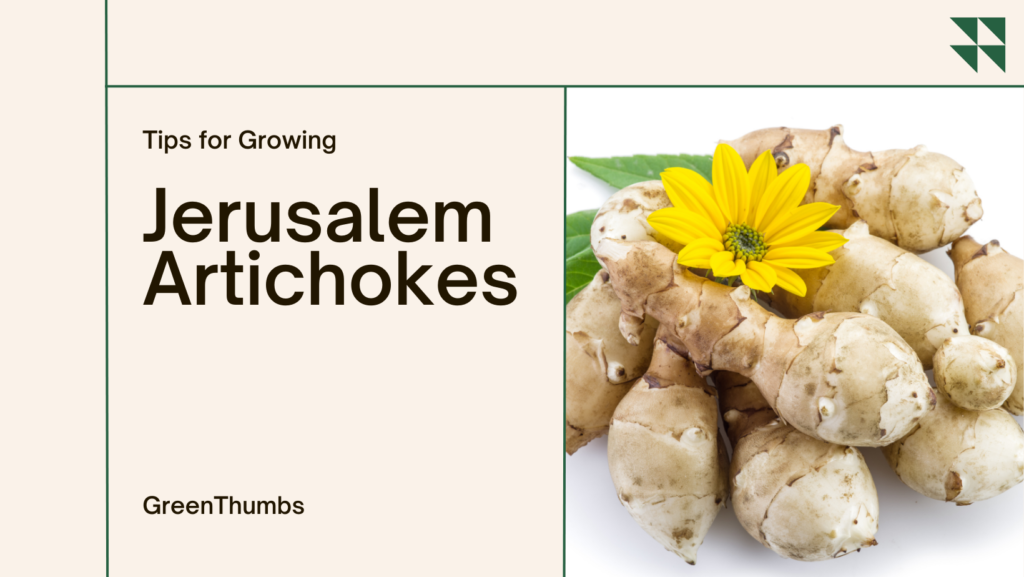
When it comes to growing Jerusalem Artichokes, their distinctive yellow flowers and towering stalks make a visually stunning addition to any garden. Their ability to attract beneficial insects and bees also contributes to the overall health and biodiversity of your garden ecosystem.
“Jerusalem Artichokes add a unique touch to both ornamental and edible gardens. Their tall stalks and vibrant yellow flowers create a striking visual display while offering a wealth of culinary possibilities.”
There are several reasons why you should consider growing Jerusalem Artichokes in your garden. Besides their visual appeal, their tubers are packed with nutrients, including iron, potassium, and dietary fiber. They are also low in calories and provide a good source of inulin, a type of prebiotic fiber that promotes gut health and improves digestion.
Furthermore, Jerusalem Artichokes are a sustainable crop choice. They require minimal inputs and care, making them an eco-friendly option for home gardeners. Their extensive root system helps improve soil structure and fertility, making them effective at soil erosion control.
In the next section, we will delve into selecting the right location for successfully planting Jerusalem Artichokes in your garden.
Selecting the Right Location for Planting Jerusalem Artichokes
When it comes to planting Jerusalem Artichokes, selecting the right location is essential for their successful growth. The ideal location will provide these sun-loving plants with the necessary sunlight and soil conditions to thrive. Here are some factors to consider when choosing a location:
- Sunlight: Jerusalem Artichokes require full sun, so choose a location that receives at least 6-8 hours of direct sunlight daily.
- Soil: These plants prefer well-draining soil with a pH level between 6.0 and 7.5. Conduct a soil test to determine the pH level and make any necessary adjustments.
- Spacing: Jerusalem Artichokes grow tall, reaching heights of 6-10 feet. Ensure you have enough space to accommodate their height without shading other plants.
- Protection from Wind: Consider planting Jerusalem Artichokes in an area that provides some protection from strong winds, as they have shallow roots and can be susceptible to damage.
By carefully selecting the location for your Jerusalem Artichokes, you can create an optimal environment for their growth and ensure a bountiful harvest.
The Benefits of Sunlight for Jerusalem Artichokes
“Sunlight is essential for the growth of Jerusalem Artichokes. It not only provides the energy needed for photosynthesis but also contributes to the plant’s overall health and vigor. Without adequate sunlight, these plants may become weak and produce fewer, smaller tubers.”- Gardening Expert
| Location | Sunlight | Soil pH | Spacing | Wind Protection |
|---|---|---|---|---|
| Location A | Full sun | 6.5 | Ample space | Partial protection |
| Location B | Partial sun | 7.0 | Restricted space | No protection |
| Location C | Full sun | 6.0 | Plenty of space | Partial protection |
Preparing the Soil and Planting Jerusalem Artichoke Tubers
Properly preparing the soil is crucial for creating an ideal environment for the growth of Jerusalem Artichokes. Follow these essential steps to ensure a successful planting and optimal results.
- Choose the right location: Select a spot in your garden that receives full sun for at least six hours a day. Jerusalem Artichokes thrive in well-draining soil, so avoid areas with excessive moisture.
- Clear the area: Remove any weeds or debris from the planting site. This will prevent competition for nutrients and create a clean space for your Jerusalem Artichoke tubers.
- Loosen the soil: Use a garden fork or a tiller to loosen the soil to a depth of 8-10 inches. This will improve drainage and make it easier for the tubers to establish their roots.
- Amend the soil: Add organic matter such as compost or well-rotted manure to enrich the soil and improve its fertility. Incorporate the amendments thoroughly into the soil to ensure even distribution.
- Prepare the planting holes: Dig planting holes approximately 4-6 inches deep and 12-18 inches apart. Space the rows about 3 feet apart to provide adequate room for the Jerusalem Artichokes to grow.
- Plant the tubers: Place one Jerusalem Artichoke tuber in each planting hole with the sprout facing upwards. Cover the tubers with soil, ensuring that they are well-covered but not buried too deep.
- Water thoroughly: After planting, water the soil thoroughly to settle it around the tubers. Maintain consistent moisture throughout the growing season, especially during dry spells.
By following these steps, you can ensure that your Jerusalem Artichokes have a suitable growing environment and every opportunity to thrive.
Stay tuned for the next section, where we will delve into the care and maintenance required for the successful growth of Jerusalem Artichokes.
Growing Jerusalem Artichokes
Once you have successfully planted your Jerusalem Artichokes, it’s time to focus on their growth and ensure they thrive in your garden. Proper care and maintenance are essential for the successful cultivation of these versatile plants. Here are some key aspects to consider when it comes to growing Jerusalem Artichokes:
1. Watering:
Jerusalem Artichokes require regular watering to keep the soil consistently moist. Aim to provide them with about 1 to 2 inches of water per week, especially during dry spells. However, be cautious not to overwater, as excessive moisture can lead to root rot.
2. Fertilizing:
Provide your Jerusalem Artichokes with a balanced fertilizer in the early stages of growth to promote healthy development. Look for a fertilizer with equal proportions of nitrogen, phosphorus, and potassium.
3. Weed Control:
Regularly weed your Jerusalem Artichoke bed to prevent competition for nutrients and minimize the growth of unwanted plants. Mulching around the plants can help suppress weeds and retain moisture in the soil.
4. Staking:
As Jerusalem Artichokes grow tall and can become top-heavy, it’s a good idea to stake them for support. Use sturdy stakes placed near the plants and tie the stems gently to avoid damaging them.
5. Pruning:
Although Jerusalem Artichokes generally do not require pruning, you can occasionally trim the tops if they start to overshadow other plants or if you want to control their height. Pruning can also help stimulate bushier growth.
6. Pests and Diseases:
Keep an eye out for common pests and diseases that can affect Jerusalem Artichokes, such as aphids, slugs, and powdery mildew. Regularly inspect your plants and take appropriate measures to prevent or control infestations.
7. Harvesting:
Jerusalem Artichokes can be harvested in the late fall or early winter, after the foliage turns brown and dies back. Use a garden fork or spade to gently dig up the tubers, being careful not to damage them.
8. Maintenance Tips:
- Remove any dead or decaying foliage to prevent the spread of diseases.
- Rotate the location of your Jerusalem Artichoke bed every few years to reduce the risk of soil-borne diseases.
- Consider leaving some of the tubers in the ground over winter as they can serve as a natural source of food for wildlife.
By following these guidelines and providing the necessary care for your Jerusalem Artichokes, you can ensure their healthy growth and a bountiful harvest.
| Common Pests | Common Diseases |
|---|---|
| Aphids | Powdery Mildew |
| Slugs | Fusarium Wilt |
| Wireworms | Root Rot |
Quote:
“Taking proper care of your Jerusalem Artichokes during their growth stage is crucial to ensuring a bountiful harvest. With adequate watering, fertilizing, and vigilance against pests and diseases, you’ll be rewarded with healthy, vibrant plants.”
Managing Pests and Diseases for Healthy Growth
When it comes to cultivating Jerusalem Artichokes, managing pests and diseases is crucial for ensuring healthy plant growth. These plant invaders can cause significant damage if left unchecked, affecting both the yield and quality of your harvest. By implementing effective pest and disease management strategies, you can protect your Jerusalem Artichokes and cultivate a thriving garden.
Common Pests for Jerusalem Artichokes
Slugs and Snails: These slimy creatures love to feast on Jerusalem Artichoke foliage, causing unsightly damage to the leaves and stems. To deter slugs and snails, create barriers around your plants using copper tape or diatomaceous earth. Additionally, handpicking these pests in the evening can help control their population.
Wireworms: The larvae of click beetles, wireworms feed on the tubers of Jerusalem Artichokes, resulting in stunted growth and reduced yields. To prevent wireworm infestations, rotate crops regularly and avoid planting in areas previously affected by these pests. If necessary, use organic insecticides labeled for wireworm control.
Aphids: These tiny, sap-sucking insects can quickly multiply and cause stunted growth and yellowing leaves in Jerusalem Artichokes. To control aphids, encourage natural predators like ladybugs or lacewings by planting companion plants such as marigolds or daisies. Alternatively, spray a mixture of water and dish soap to deter and eliminate aphids.
Common Diseases for Jerusalem Artichokes
White Mold: Also known as Sclerotinia rot, white mold can infect Jerusalem Artichoke stems and leaves, causing wilting and decay. To prevent white mold, provide adequate air circulation by spacing your plants appropriately and avoiding over-watering. If you notice signs of white mold, remove and destroy affected plants to prevent further spread.
Root Rot: Excessive moisture in the soil can lead to root rot, a fungal disease that affects the roots of Jerusalem Artichokes. To prevent root rot, ensure proper drainage in your garden beds and water your plants sparingly, allowing the soil to dry out between waterings. Applying a layer of mulch can also help retain moisture balance in the soil.
Downy Mildew: This fungal disease manifests as yellow spots on Jerusalem Artichoke leaves, eventually leading to leaf curling and deterioration. To prevent downy mildew, avoid over-crowding your plants and provide adequate spacing for air circulation. Water your plants in the early morning to allow foliage to dry out during the day, discouraging the growth of the downy mildew fungus.
Remember, prevention is key in managing pests and diseases for Jerusalem Artichokes. Maintaining a healthy garden environment through proper spacing, regular inspections, and diligent cultural practices will go a long way in promoting the robust growth and productivity of your Jerusalem Artichoke plants.
| Pest/Disease | Symptoms | Prevention | Treatment |
|---|---|---|---|
| Slugs and Snails | Chewed leaves and stems | – Create barriers using copper tape or diatomaceous earth – Handpick in the evening | Organic slug and snail control products |
| Wireworms | Stunted growth and damaged tubers | – Rotate crops regularly – Avoid planting in previously affected areas | Organic insecticides for wireworm control |
| Aphids | Stunted growth, yellowing leaves | – Encourage natural predators – Spray water and dish soap mixture | Organic insecticidal soap |
| White Mold | Wilting, decayed stems and leaves | – Provide adequate air circulation – Avoid over-watering | Remove and destroy affected plants |
| Root Rot | Yellowing, rotting roots | – Ensure proper drainage – Water sparingly | No effective treatment; remove affected plants |
| Downy Mildew | Yellow spots on leaves, leaf curling | – Avoid over-crowding plants – Water in the morning | No effective treatment; remove affected plants |
Harvesting Jerusalem Artichokes
Now that you have nurtured your Jerusalem Artichoke plants with care and patience, it’s time to enjoy the fruitful harvest. Knowing when to harvest Jerusalem Artichokes is crucial to ensure you get the most out of your crop.
Signs of Readiness
To determine if your Jerusalem Artichokes are ready for harvesting, keep an eye out for the following signs:
- Firmness: The tubers should feel firm to the touch, indicating that they have reached maturity.
- Color: The skin of mature Jerusalem Artichokes will become slightly darker, usually ranging from a light beige to a rich brown color.
- Yellowing of Leaves: As the tubers prepare for harvest, the plant’s foliage may begin to turn yellow and wilt.
By observing these visual cues, you can ensure that you harvest your Jerusalem Artichokes at the perfect time, maximizing their flavor and nutritional content.
Harvesting Techniques
Proper harvesting techniques are essential to prevent any damage to the tubers and to facilitate an efficient harvest. Follow these steps to harvest your Jerusalem Artichokes:
- Using a spade or garden fork, gently loosen the soil around the plant at a distance of about 12 inches from the main stem. This will help in loosening the tubers without causing any harm.
- Once the soil is loosened, carefully lift the plant from the ground, ensuring you don’t damage the tubers.
- Shake off any excess soil and remove the remaining roots and foliage.
- Gently brush off any dirt from the tubers, taking care not to bruise or damage them.
- Inspect the harvested tubers, discarding any damaged or rotten ones.
Now that you have successfully harvested your Jerusalem Artichokes, it’s time to savor their unique taste in a variety of culinary creations.
Storing and Cooking with Jerusalem Artichokes
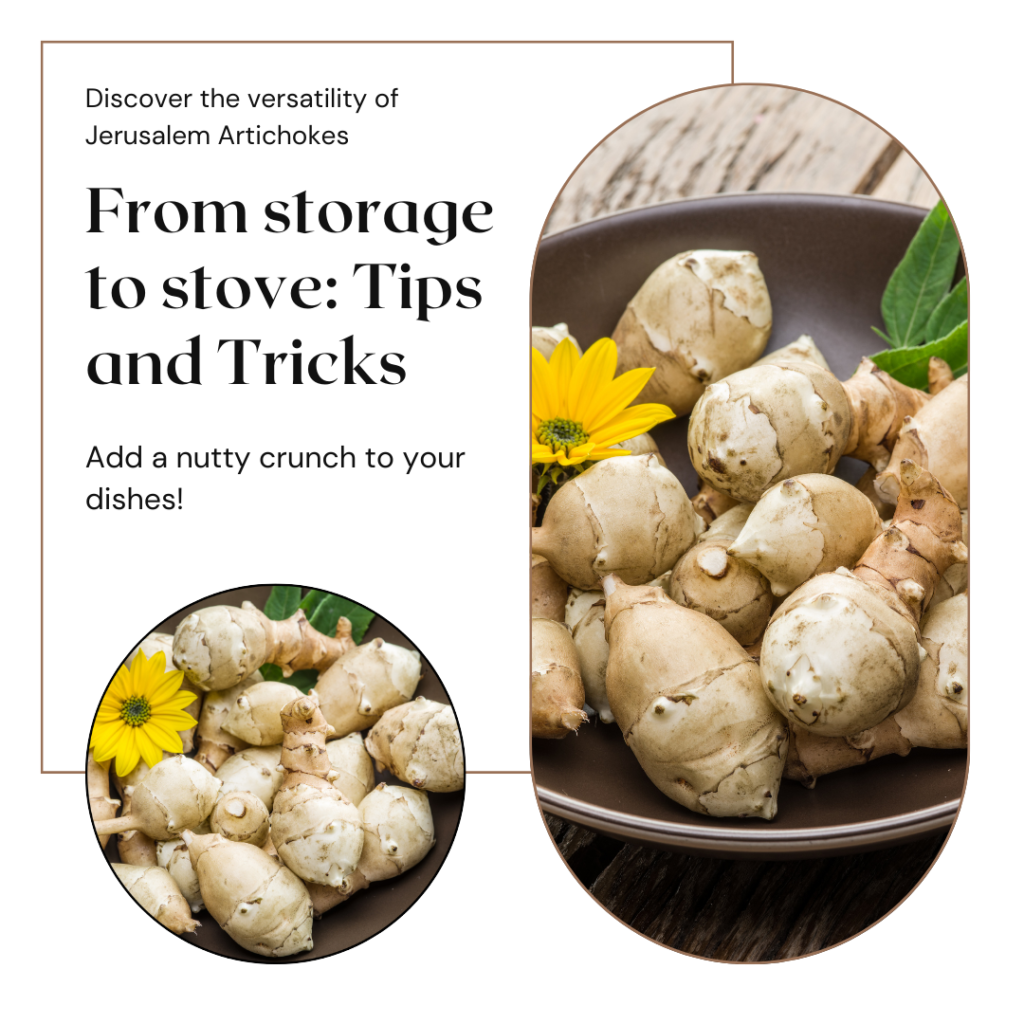
Once you’ve harvested your Jerusalem Artichokes, it’s important to store them correctly to maintain their freshness and flavor. Proper storage methods can extend the shelf life of these delicious tubers, giving you more time to enjoy their unique taste and nutritional benefits.
- Before storing, gently brush off any excess dirt from the tubers. Avoid washing them as moisture can promote spoilage.
- Place the Jerusalem Artichokes in a cool, dry, and well-ventilated location. A root cellar or an unheated basement can be ideal storage areas.
- Use a crate or a paper bag to store the tubers, preventing them from touching each other and allowing air circulation.
- Check the tubers regularly for any signs of spoilage, such as soft spots or mold. Remove any affected ones immediately to prevent the spread of decay.
Cooking with Jerusalem Artichokes:
Now that you know how to store Jerusalem Artichokes, it’s time to explore their culinary possibilities. These versatile tubers can be used in a variety of delicious recipes, adding a unique flavor and texture to your meals. Here are a few ideas to get you started:
- Roasted Jerusalem Artichokes: Toss peeled and halved Jerusalem Artichokes with olive oil, garlic, and your favorite herbs. Roast them in the oven until golden and crispy. Serve as a flavorful side dish or add them to salads and grain bowls.
- Jerusalem Artichoke Soup: Simmer peeled and chopped Jerusalem Artichokes with onions, vegetable broth, and seasonings until tender. Blend until smooth for a creamy and velvety soup. Top with fresh herbs and a drizzle of olive oil.
- Jerusalem Artichoke Chips: Thinly slice Jerusalem Artichokes and toss them with olive oil, salt, and pepper. Bake in the oven until crispy and enjoy them as a healthier alternative to potato chips.
These are just a few examples of the delicious dishes you can create with Jerusalem Artichokes. Their mild, nutty flavor pairs well with various ingredients, making them a versatile addition to your culinary repertoire.
Not only are Jerusalem Artichokes delicious, but they also offer numerous health benefits. They are a good source of fiber, vitamin C, and potassium, among other essential nutrients.
“Jerusalem Artichokes add a wonderful earthy flavor to dishes and can be a tasty substitute for potatoes or other root vegetables. Experiment with different recipes and let your creativity shine!”
FAQ
Q. How deep should I plant Jerusalem Artichoke tubers?
Q. How far apart should I space Jerusalem Artichoke plants?
Q. Do Jerusalem Artichokes require full sun?
Q. When is the best time to plant Jerusalem Artichokes?
Q. How often should I water Jerusalem Artichokes?
Q. Can I fertilize Jerusalem Artichokes?
Q. What are common pests and diseases that affect Jerusalem Artichokes?
Q. How do I know when Jerusalem Artichokes are ready for harvest?
Q. How should I store Jerusalem Artichokes after harvest?
Q. Are there any delicious recipes to try with Jerusalem Artichokes?
Q. What are the nutritional benefits of including Jerusalem Artichokes in my diet?
Conclusion
Congratulations! You now have all the necessary knowledge to successfully cultivate Jerusalem Artichokes in your garden. By following the comprehensive planting guide, understanding the ideal location, preparing the soil, and implementing proper care and maintenance, you can ensure the healthy growth of these versatile plants.
Here are some additional tips to enhance your Jerusalem Artichoke cultivation:
- Regularly monitor the moisture levels in the soil and water accordingly, ensuring that it is consistently moist but not waterlogged.
- Consider providing support, such as stakes or trellises, for the plants as they grow tall to prevent them from toppling over.
- Implement a regular fertilization schedule using organic matter or well-balanced fertilizers to promote robust growth and maximize yield.
- Regularly inspect your plants for any signs of pests or diseases and take prompt action to prevent their spread.
- When harvesting Jerusalem Artichokes, gently dig around the base of the plant to avoid damaging the tubers. Harvest as needed to enjoy their delicious flavor and nutritional benefits.
- Experiment with various cooking recipes to savor the unique taste and texture of Jerusalem Artichokes, whether roasted, sautéed, or added to soups and stews.
With these tips, you can confidently embark on your Jerusalem Artichoke journey, enjoying a bountiful harvest and adding a delightful culinary ingredient to your meals. Happy gardening!


